Showing posts with label Bow Builder Punch. Show all posts

Thursday, 19 February 2015

Bow Builder Punch Tutorial

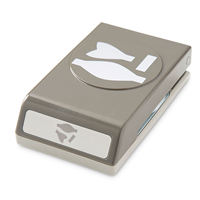
Morning everyone, this is a video and photo heavy post so if you are viewing this in an email you will need to open up the post in a webpage to view the video. As promised last week I have created a little tutorial on how to make a bow using the new Bow Builder Punch. I decided to have a go at making a video tutorial rather than photo as it's easier to show how to make something via video than photos. Please don't laugh at the rough quality of the video this is one of my first attempts and I feel quite nervous about showing you all. Luckily I can sit and cringe from my craft room and I won't be able to see your faces as you watch!


Hopefully it was helpful and not just cringe worthy! Below is a better quality photo of the card I created using the Bow Builder Punch.


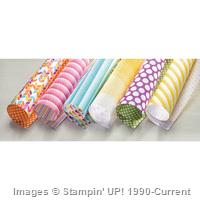
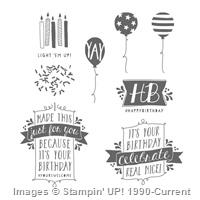
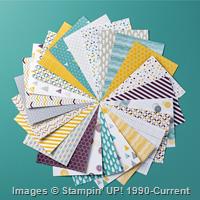
The Sweet Taffy DSP is so bright and colourful and makes some really cute bows. Here I created three bows from the different sheets of the Sweet Taffy DSP and then stuck them to a piece of Whisper White card stock. The sentiment is stamped in Pumpkin Pie using the Balloon Bash stamp set from the Spring/Summer Catalogue.

That's it for today, thank you for stopping in to read my blog. I'll be back on Saturday with another card for you.

Supplies:


Thursday, 12 February 2015

The lovely Lotus Blossom - Part 3

Morning all, here is part 3 of my lovely Lotus Blossom series. This one uses a brand new product but also an old favourite too. When the Moonlight Designer Series Paper Stack first came out I couldn't get enough of it but I feel I have neglected it a bit of late. As this paper stack co-ordinates nicely with the 2014-16 In Colours I was able to use some of the other colours for the card base and inks.


The first two Lotus Blossom cards used two colours for the flowers but with this one I wanted to show the ladies that you can still achieve great results with just one colour. (To see all of the colours I tried out for the Lotus Blossom see my previous post 'Many colours of the Lotus') To give this card a bit of depth I cut all three flowers out using my trusty paper snips, glued one of the flowers directly onto the card and then popped two of them up on dimensionals. As I really like the Artisan Label Punch for my sentiments, and it only comes in one size, I have started using my sponge daubers and a small amount of ink to colour the edges of the card. This way it stands out without requiring a card mat. What do you think? All comments are welcome.

Did you spot the new product I used? It created the lovely bow at the bottom of the card. I stopped using card/paper bows for a while as it seemed so much hassle cutting out all of the pieces and the two sides didn't always match in size as my cutting skills aren't amazing. But now the Bow Builder Punch does it all for you! You just punch it out twice and then stick all of the pieces together, I will do a quick tutorial post next week for you. You get a perfect bow every time!


That's it for today, thank you for stopping by to read my blog.

Supplies: