Monday, 26 January 2015

Many colours of the Lotus

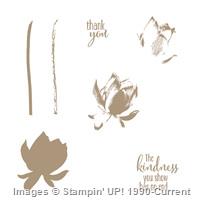
Evening all, I have been preparing all of the materials for my coffee and craft afternoon tomorrow. We are going to be using the Lotus Blossom stamp set which as you will have seen from one of my previous posts (Click here is you missed it) is a lovely 3 step stamp set which allows you to create gorgeous results in 3 easy steps. I have been having a play around with colour combinations and the order of stamping and I thought I would share my results with you. 

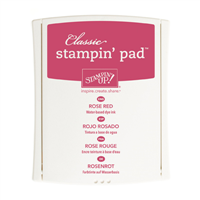
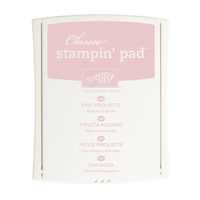
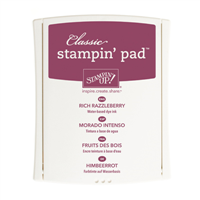
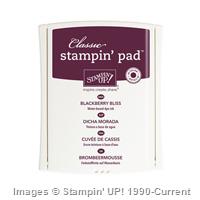
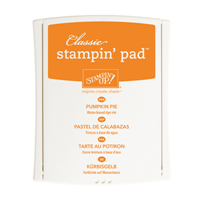
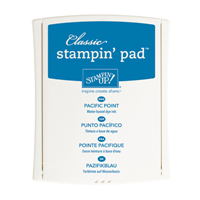
I have made the pictures large for this post so that hopefully you'll be able to see the colour combinations I have used. The first two photos have the same colour combinations but have been stamped in a different order. I found that to achieve the best results step 1 needed to be the first impression (ie straight from ink pad to paper), step 2 needed to be second impression (ie stamp it onto scrap paper first) and step 3 also needed to be second impression. The only exceptions to this are Pink Pirouette which is so light it needs to be first impression, Blackberry Bliss which can be a little dark even after stamping on scrap paper first and if you are only using one colour to create your flower make sure you stamp the step 3 onto scrap paper twice so that there is enough contrast between step two and three.

In this first picture I have followed the 1-2-3 order that is on the stamp set.


When looking for inspiration for lotus blossom cards several people have said to stamp them in reverse order (3-2-1) which is what I have done in this second picture.


I personally prefer the 1-2-3 images as I find it a lot easier to line them up if the darkest image is already on the paper plus I'm not sure if you can see from the photos but those done in reverse order don't have as much definition and detail. Some of the colour combinations don't show the detail at all well in this order. This is just my personal opinion so experiment and see what works best for you. 

This final picture is just a couple of extra colour combinations I played with after completing the charts. I saw a card on Stampin' Connection where the demo had used black ink, Pacific Point and Tempting Turquoise for a three colour flower, I really liked this colour combination and decided to give it a go with purples as well. I think it turned out well and have decided to show this one tomorrow afternoon.


Let me know what your favourite colour combination is, are there any you use that aren't on my sheets?
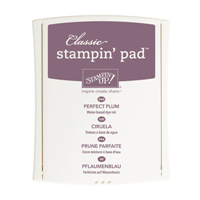
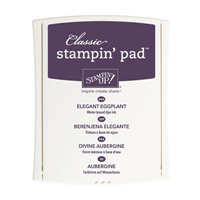
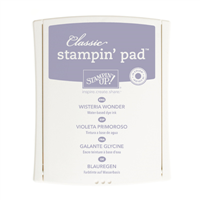
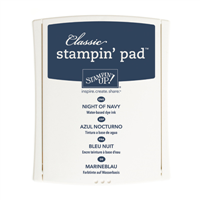
Supplies:


Built for Free Using:  My Stampin Blog

Sunday, 25 January 2015

Boot Camp - Week 2

Well I have successfully reached the end of the second week of Boot Camp, I am a little behind on some of the videos I'm supposed to be watching but otherwise I'm on track! This weeks creative task involved us finding a technique through Stampin' Up! that we haven't used before and give it a go. There were several places we could look like the catalogues, Impressions (a Demo only magazine), the Stampin' Up! website or Stampin' Connection (a great place for us demos to chat and share ideas). I have seen and heard quite a bit about the Bokeh technique, originally a photographic technique, so when I found a video tutorial on Stampin' Connection I just had to give it a try.


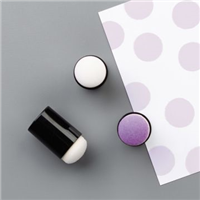
In the video the lady used White Craft ink but I don't have this (yet...!) so I decided to give it a go using the Yellow Citrus Chalk Ink and I think it has still turned out well. You start by randomly sponging the backgound with two different colours, mixing them a little in some places. Once this is dry you create a mask by cutting circles in various sizes out of either a window sheet or cardstock and then sponging the chalk ink (or craft ink) through the mask to create random circles. I then used the sponge dauber to add some smaller circles. You can add as few or as many circles as you like depending on how you want it to turn out. Practice and have fun!

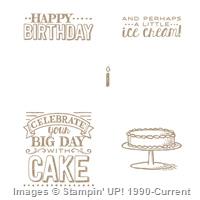
As my background was so colourful I decided to keep the sentiment and cake black and white so that they didn't get lost. For this I used the new blackboard card and white embossing powder. The embossing stands out so well on this black card, I love it! The sentiment itself is from the Sale-a-bration set Big Day which means you can get this set for free with any £45 spend. Feel free to contact me with any questions and orders or just click my shop link on the right hand side which takes you directly to my online shop.

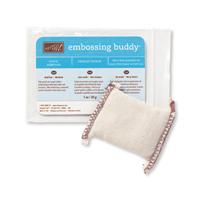
 One thing I need to point out here is you must must must use an embossing buddy when embossing onto this black card. Here is a photo to show you what happens if you don't.


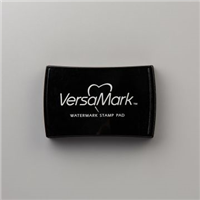
It's not as clear, you get speckles all over it as the powder sticks anywhere it fancies on the card, awful! However you can see the results above if you take the time to give it a quick rub with the embossing buddy first. The powder then only sticks to the versa mark ink and you get a crisp clear print. In some circumstances this speckled effect could look quite good but here, no!

I hope you enjoy the rest of your Sunday and if anyone fancies joining me at my Coffee and Craft afternoon on Tuesday there are only 2 spaces left so drop me a message soon if you'd like to attend.

Supplies:


Price: £15.50
Built for Free Using:  My Stampin Blog

Wednesday, 21 January 2015

It's all about embellishments this week

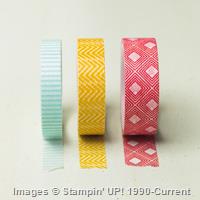
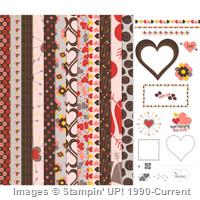
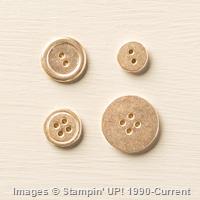
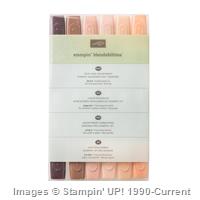
Morning all! This weeks weekly deals are here again and this week it seems to be all about embellishments. Make those cards stand out! As always if you see something you like feel free to contact me or click directly on the links below.


Tuesday, 20 January 2015

My first training session

Morning everyone, did you all have a good weekend? It feels so long ago now that it's Tuesday! I had a fantastic weekend, I went to my first ever Stampin' Stars training session on Saturday then one of my lovely friends came down to stay. We all got very muddy on Sunday as we went for a walk in Queen Elizabeth Country Park and chose possibly the muddiest path! You should have seen us trying to get uphill while slipping and sliding! We had a great time and definitely earned the cake Donna treated us to afterwards.
I may have been a demo now for over a year but as I said, on Saturday it was my first ever training session. All the way there I was so nervous and excited and was wondering whether I had made a mistake booking onto it but as soon as I arrived and got chatting to some of the other ladies I was so glad I went. Everyone made me feel so welcome and I wasn't the only one there who hadn't been before. It was just a great day, we spent the morning talking business, swapping cards and congratulating people on promotions and top sales then after lunch we had 3 hours of solid crafting (or just chatting if you wanted to!) We were given instructions and materials for 10 different cards, I have never made that many cards in such a short space of time. I came away feeling so enthusiastic and full of ideas for my business and for cards I want to try out, I really can't tell you enough how great it is being a demo. (Check out my previous post here to see more reasons why you should join my team right now!)

As part of training we were invited to make swaps for everyone that attended and that way if everyone made one you would go home with 24 different ideas, I received some gorgeous ones and now have lots of inspiration to build on. The swaps could be anything we wanted as long as it used current Stampin' Up! products. Now as many of you know I love butterflies so I just had to use the butterfly basics set for my swaps, I want to get the most out of this set now in case it doesn't roll over to the new annual catalogue. I'm not usually a gold person, I prefer silver (or white gold if we're talking jewellery!) but I received a lovely swap from Emma Goddard at the sale-a-bration demo only event back in December where she used Crumb Cake and Gold and I thought the colours went together beautifully and so decided to try them out myself.


I have added a close up of the butterfly as you can't quite see from the first photo that the butterfly is made up of two layers. The first layer is stamped in Crumb Cake onto Very Vanilla and the second layer is made from Vellum with Gold embossing powder. I was really pleased with this one and I think people liked it when I handed it out. I will be sharing the swaps I received gradually over on my Facebook page so if you want to get some more inspiration please pop on over to take a look but for now I must get back to making wedding invitations. Thanks for stopping in.

Supplies:


Built for Free Using: My Stampin Blog